
End of Tenancy Cleaning Cost: Complete Guide 2026
★★★★★ Booked Service: 2863 times booked Price from: €180 Clean4u 2026 Price Guide End of…
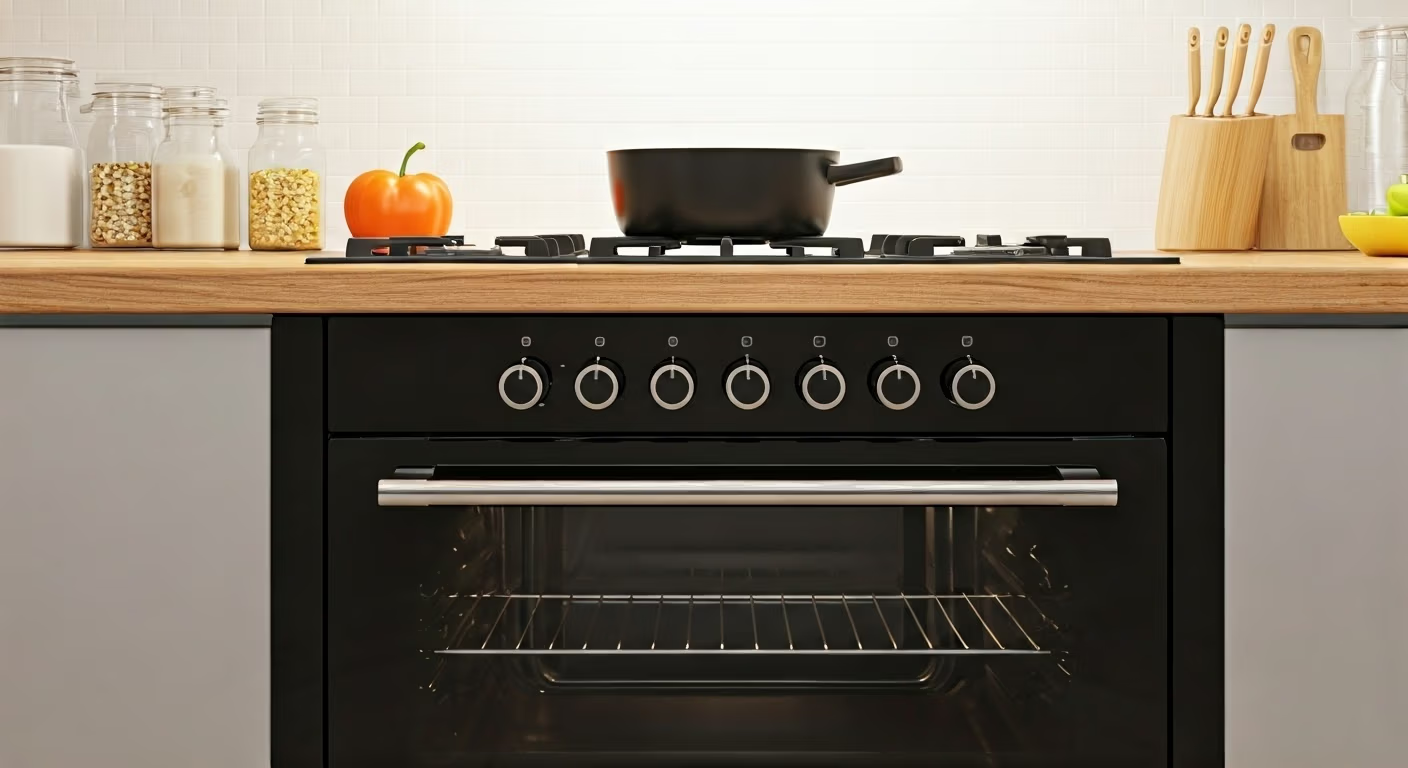
Get a step-by-step guide, including how to clean oven racks without endless scrubbing…

Oven cleaning usually ends up at the bottom of our to-do list. It can seem hard, and no one wants to spend hours scrubbing away at tough grime. Still, it’s really important to keep the inside of an oven clean for healthy cooking and tasty meals. A clean oven, especially during the cleaning cycle, also helps make the whole kitchen feel nicer. Don’t worry! We have simple and helpful tips for oven cleaning that will make you feel like an expert.

A clean oven is important not just for looks. It also impacts your cooking and the taste of your food. If grime and grease collect in your oven, they can change how your meals taste. For example, think about baking your favorite cookies with the smell of last week’s roasted chicken still lingering. That wouldn’t be very tasty, right?
Also, if you let stubborn stains sit and keep baking at high heat, they become harder to remove later. By cleaning your oven regularly, you avoid dealing with tough layers of baked-on mess every few months.
You don’t have to spend a lot on fancy products to clean your oven well. Some of the best cleaners are in your pantry! Baking soda is a great helper for cleaning oven grime. It can fight grease without hurting your oven’s surface.
White vinegar is also a good item to have at home. It helps remove tough stains and makes your glass door shine. For this cleaning job, you will need a spray bottle for easy use. You should also have rubber gloves to keep your hands safe and some rags or sponges for wiping.
Before you start cleaning your oven, you need to get your workspace ready. This step might seem unimportant, but it helps a lot. With everything prepared, cleaning will be easier and faster. A little bit of preparation makes a big difference!
First, gather all the cleaning supplies you will use. You will need baking soda, white vinegar, a spray bottle, rubber gloves, cleaning rags or sponges, a plastic scraper or spatula, and old newspapers or towels to keep your floor safe.
To clean effectively using this natural method, you will need a few tools. Hot water is essential. It helps rinse away any dirt. A bowl or bucket for soaking your oven racks is also important.
The key part is the baking soda paste. You only need two ingredients: baking soda and water. Mix them together to make a spreadable paste. This paste should be thick, so it will stick better to stubborn stains.
Don’t forget about using some elbow grease! Even though our cleaning solutions work well, a bit of scrubbing with a sponge or a non-abrasive pad will take off any tough residue. This will give you a sparkling clean oven.
When you use natural ingredients like baking soda and vinegar to clean your oven, it’s still important to stay safe. You will be working with grease and grime, which can irritate your skin. Always wear rubber gloves to keep your hands safe from the mess and cleaning products.
Even if you are not using harsh chemicals, it’s smart to wear safety glasses. They will help protect your eyes from splashes or small bits. Good ventilation is also key. Open the windows to let in fresh air, especially when using vinegar because it can smell strong.

Now that you’ve set up your workspace and gathered your cleaning supplies, it’s time to start. We will help you step by step. Soon your dirty oven will look brand new.
Keep in mind that you need patience and a little elbow grease for this. Let’s begin cleaning!
First, take out the oven racks and put them aside. These racks usually have a lot of baked-on grime, so soaking them is important. It’s best to let them soak while you clean the inside of the oven.
Fill a bathtub or a large basin with warm water and add a cleaning agent. Here are some options you can use:
Let the racks soak for at least two hours. If they are very dirty, it’s better to let them soak overnight. This will help loosen the grime and make it easier to scrub.
While the oven racks soak, focus on the inside of the oven. It’s time to use your baking soda paste! Mix equal parts of baking soda and water in a bowl until it makes a spreadable paste.
Put on your gloves and spread a thick layer of the paste all over the interior of the oven. Avoid putting it on the heating elements. Make sure to cover the very greasy stubborn spots well. Let the paste sit for at least 12 hours. This waiting time helps the baking soda to work and break down tough grime.
If you want to clean faster, you can skip the paste. Just mix equal parts of white vinegar and water in a spray bottle. Spray this vinegar solution inside the oven, especially on the greasy areas, and let it sit for 30 minutes.
After the baking soda paste has sat or the vinegar solution has worked, it’s time to clean the inside of the oven. Use a damp sponge or rag to wipe away the baking soda paste and any grime. You’ll be surprised at how easily the dirt comes off!
For any tough spots that remain, you can make a stronger paste by adding more baking soda to your mix. A pumice stonecan help with really stubborn, baked-on messes. Just remember to use it gently so you don’t scratch the oven’s surface.
Finally, rinse the inside of the oven well with a damp cloth. You want to have a completely clean surface with no residue left behind.
By now, your oven racks should be clean after a soak, and the grime should be loose. If you used the tub for soaking, empty the dirty water and rinse the tub quickly. Next, fill the tub or basin with hot, soapy water again.
Now, take a scrub brush or sponge and scrub the oven racks to remove any leftover grime. The soak should have helped loosen most of it, so scrubbing should be easier.
Rinse the racks well under hot water to get rid of all cleaning residue. Once they are completely clean, dry them with a towel or let them air dry before putting them back in the oven.
Your oven’s inside and racks are clean – great job! Before you finish, let’s clean the outside of the oven too. Use a damp cloth to wipe the control panel, oven door, and handles. This will remove any fingerprints or spills. A mix of equal parts white vinegar and water works as a good natural cleaner for this.
Also, remember to wipe the bottom of the oven. Crumbs and dirt can gather here, and it’s easy to miss when cleaning inside.
Finally, put back the clean and dry oven racks, and take a moment to enjoy your work. Your oven is now sparkling and ready for your next cooking adventures!
Congratulations, your oven looks great! The key to keeping it clean is to maintain it. By adding simple habits to your cooking routine, you can cut down on how much you need to scrub in the future.
It’s about managing the mess before it gets too big. Just like brushing your teeth helps you avoid big dental issues, regular small cleanups will save you from exhausting deep cleans later on.
Keeping a regular cleaning schedule is important for making your oven stay clean and shiny. Just like taking care of your car helps avoid bigger issues, cleaning your oven often does the same.
Wiping the inside of your oven with a damp cloth and some dish soap after each use is best. But let’s be real, not everyone has the time for that. Try to wipe it down at least once a week while the oven is still a bit warm, just like using a bowl of water to help loosen any tough grime. This makes cleaning up spills much easier.
To help prevent messes, you can use aluminum foil to line the bottom of your oven. It catches drips and spills, so cleaning is easier. Remember to replace the foil regularly or whenever it gets too dirty.
Being careful when you cook can help stop messy spills and stuck-on food. One simple way to do this is to use a baking tray or sheet pan under dishes that might bubble over.
Another good tip is to cover your dishes tightly with foil. This works for casseroles or roasts that often splatter. Covering them can keep greasy spots from getting inside your oven, making cleaning easier for you.
If spills happen, clean them up right away while the oven is still warm. This will stop them from hardening and being harder to clean later. Remember, putting in a little work now can save you a lot of time scrubbing later!
Deciding between hiring professional oven cleaning services or tackling the job yourself comes down to time, budget, and personal preference. Let’s weigh the pros and cons:
DIY methods using baking soda and a bit of vinegar are cost-effective, environmentally friendly, and allow you to control the cleaning agents used. However, they require more time and effort. Professional oven cleaning services are convenient and use heavy-duty cleaners for a deep clean. However, they can be expensive and may involve chemicals you’d rather avoid.
|
Feature |
DIY |
Professional |
|
Cost |
Low (under \€10) |
High (\€80 – \€200) |
|
Time |
High (several hours) |
Low (1-2 hours) |
|
Convenience |
Lower |
Higher |
|
Chemicals |
Natural (baking soda, vinegar) |
May use commercial oven cleaner |
Keeping your oven clean is important for good cooking and helps your appliance last longer. Regular cleaning with the right tools is key. It stops grease from building up and keeps your cooking area safe and clean. If you stick to a good cleaning routine and include safety tips, you can easily keep your oven clean. You can hire professionals or try DIY methods. A clean oven leads to better meals and a healthier kitchen. So, don’t forget, a clean oven is a happy oven!
Regular cleaning is important! Try to do a deep clean every 3 to 4 months. But, if you smell an odor, see smoke, or notice too many crumbs, it’s time to clean. Don’t wait for the last time you did this appliance maintenance task.
Baking soda and vinegar are great natural cleaners for your oven. They are safe to use and work well to remove dirt and grime. Plus, they can make your oven shine!
Generally, yes. But it’s a good idea to check the instructions from your manufacturer. Self-cleaning ovens use high heat. This can create fumes. Make sure you have proper ventilation. Also, follow safety guidelines for your oven model.
Cleaning the glass on your oven door can be hard! You can use a slim tool, like a yardstick with a cloth, to clean between the glass. Make a vinegar solution to help with the job. Wipe with a paper towel and be patient. It may take a few tries to get it clean!
Soaking your oven racks is really important! First, fill a tub with hot water and add some degreasing dish soap. Let the racks soak for a few hours. After that, use some elbow grease to scrub away any leftover residue. Finally, rinse them thoroughly and let them dry completely.
★★★★★ Booked Service: 2863 times booked Price from: €180 Clean4u 2026 Price Guide End of…

+31 6 25 37 39 23 info@clean4u.org Cleaning Services Move In/Out Cleaning Deep Cleaning Service…
+31 6 25 37 39 23 info@clean4u.org Cleaning Services Move In/Out Cleaning Deep Cleaning Service…

+31 6 25 37 39 23 info@clean4u.org Get Instant Quote The Best Time for Interior…